While the idea of even having to throw your reserve parachute isn’t exactly pleasant, being prepared for every situation – even emergencies – is a key part of flying paramotors. Safety in all measures is undoubtedly the wisest way to proceed with just about any “extreme activity,” so of course knowing how to throw your reserve parachute is important (to say the very least) and a part of those pre-flight skills everyone should learn when entering into the sport of PPG. “Keep flying the aircraft” as we like to say at Aviator Paramotor – don’t panic, breath, and equip yourself with the necessary means to correct in-flight accidents. It simply comes with the territory of becoming a pilot, but in doing so you’ll also build confidence and create a better flying atmosphere because you’ve armed yourself with crucial information that could very well save your life.
So, fear not! Grow your skills and love flying paramotors all the more by learning how to throw your reserve parachute. Statistically speaking, you’ll most likely never have to deploy that reserve as accidents and fatalities in general aviation total between 2,000-3,000 annually, with very few PPG related incidents being reported. That being said unforeseeable incidents still happen, so being prepared is beyond important, furthermore that preparedness is likely a large factor in what keeps those PPG related incidents incredibly low on the charts. So, let’s dive in and please reference the instructional video for further clarity.
STEP 1: LOOK, LOCATE YOUR RESERVE, AND PREPARE TO THROW
Typically, your reserve sits inside either a reserve specific pocket or container, which is mounted on the right hand side of your paramotor harness because the throttle is generally held in the left hand. So, first look to see your reserve, and since your right hand is free reach down and locate your reserve handle, firmly gripping it (if inserted correctly it will protrude out of the reserve pocket).
Next, pull the reserve forcefully out of the pocket, keeping that tight grip.
After that, bring the reserve up to to your chest and prepare to throw with as much power as possible (see video).
STEP 2: FIND “CLEAR AIR” AND THROW
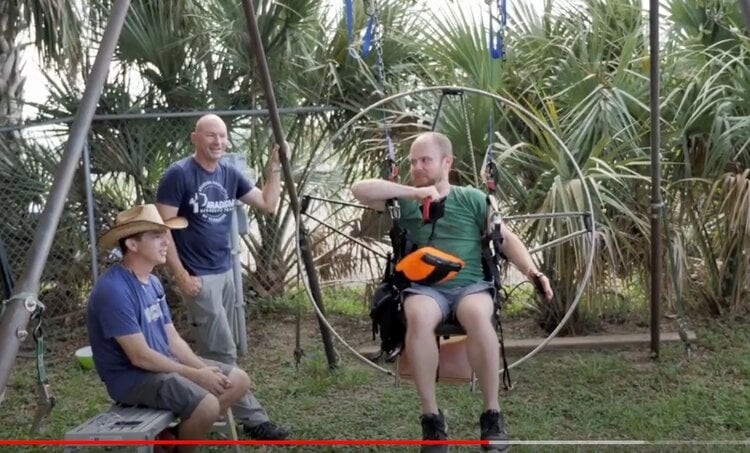
We understand that circumstances will most likely be chaotic in the event of this type of emergency, regardless the next step is to locate “clear air” directly in front of you. Scan your immediate space, making sure it’s clear of obstructions such as lines, the glider, or anything else, and prepare to throw the reserve with full force.
Because your arm is, hopefully, at this point still in a drawn up position across your chest, upon locating your “clear air,” next throw your reserve straight out in front of you with as much power as possible. The goal is to get it away from yourself so that it can better deploy.
STEP 3: DISABLE AND CONTAIN YOUR WING
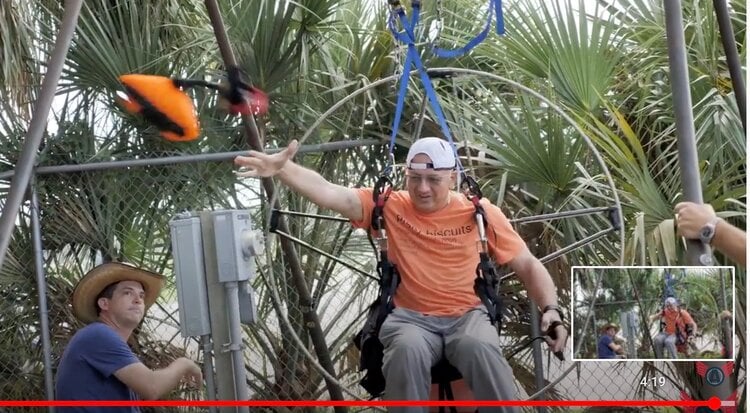
If possible, once you’re sure your chute has deployed then feed your arms through the inside straps of your harness. Begin disabling your wing by reaching up and grabbing its lines, pulling them down to yourself.
Next (see video), after pulling the wing into a big ball, tuck it as close to your body as possible, hugging it to your chest and stomach area. Doing this helps to prevent a downward plane.
STEP 4: ASSUME A PLF POSITION
PLF, or parachute landing fall, is a safety technique used by parachutist to lesson or eliminate injury when falling from massive heights. Ideally, you want to make yourself as limp as possible upon impact.
So, now that you have your reserve tucked away, next you’ll assume the correct position. Your arms should be crossed over your chute and across your chest, next angle your body sideways, crossing your ankles. Then do your best to be as limp and fluid as possible in embracing for impact.
Doing this helps to lessen damage and breaks to the body, which seems crazy, but paratroopers, soldiers, parachutists, and the like have been using this technique for years.
KEEP FLYING THE AIRCRAFT
Obviously, it’s hard to know how we’ll react should an emergency of this magnitude arise, but the biggest principal to adhere to is “keep flying the aircraft.” You’re arming yourself with knowledge and emergency skills, so should the time come all you need to do is deploy what you know and fly the aircraft until your feet are safely back on the ground.
As Andrew Solano, Aviator’s Dunnellon Location Manager and PPG expert, emphasized in the instructional video, you never stop working until the problem is resolved. While you may kick into survival mode, in the event of an emergency, remember to keep flying the aircraft because that’s what makes the difference.
Like we said, no one wants to consider the worst possible outcomes of flight, however preparedness, learning all you can, and practicing emergency maneuvers has a much more positive affect than you might think. The better prepared you are, the more calm you are. The better practiced you are, the more confident you become. Again, arm yourself with knowledge and preparedness and your joy of flight will ultimately boost because you know you can handle situations as the come, no matter what they are.
Embrace knowledge, love flight, fly paramotors.
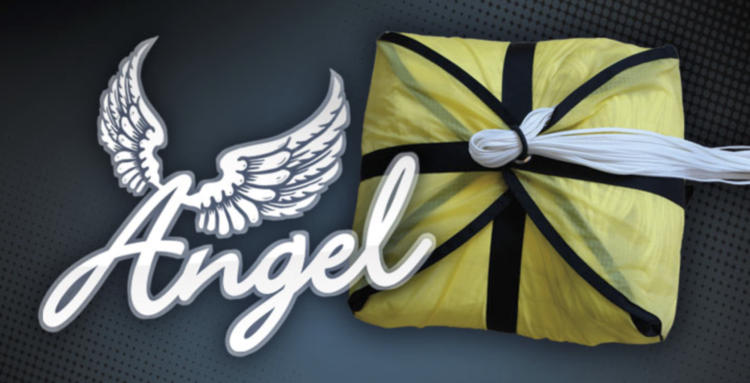
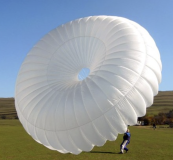
Safety gear should never be underestimated, so check out some of the Angel reserve parachutes that Aviator offers, along with the reserve pockets and containers that we have as well.
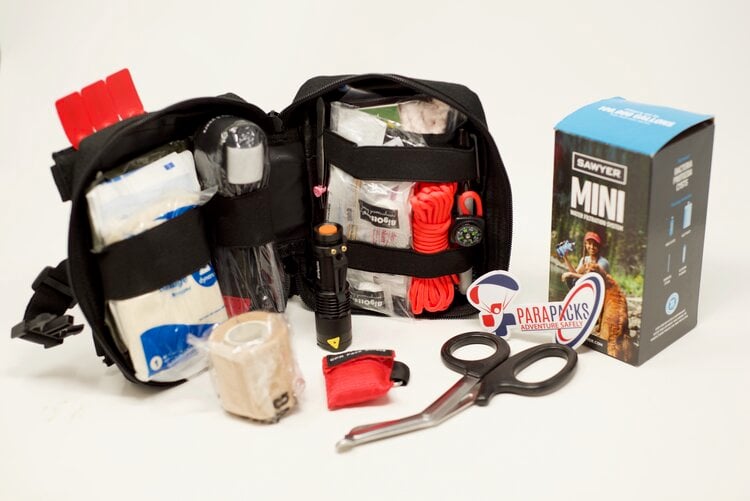
If you found this article helpful, see our rundown on The ParaPack, another one of our premium safety gear items.
